
THE ORIGINAL ‘RECEIPT’
SCONES
Three cups flour, 2 spoons baking powder, 1 cup shortening, lard and butter, 1 cup sugar, 1 cup milk. Mix altogether then add 1 cup chopped raisins and the beaten white of one egg. Roll thin, spread over top of beaten yolk of egg, cut in triangles, a little more flour may be needed.
~Locally compiled – credits from Ingersoll, Strathroy, etc. Tilbury Home Cook Book, 1908.
THE UPDATED RECIPE
- 3 c. all-purpose flour
- 4 tsp. baking powder
- 1 c. granulated sugar
- ¼ tsp. salt
- ½ c. butter (chilled)
- ½ c. lard (chilled)
- 1 c. milk
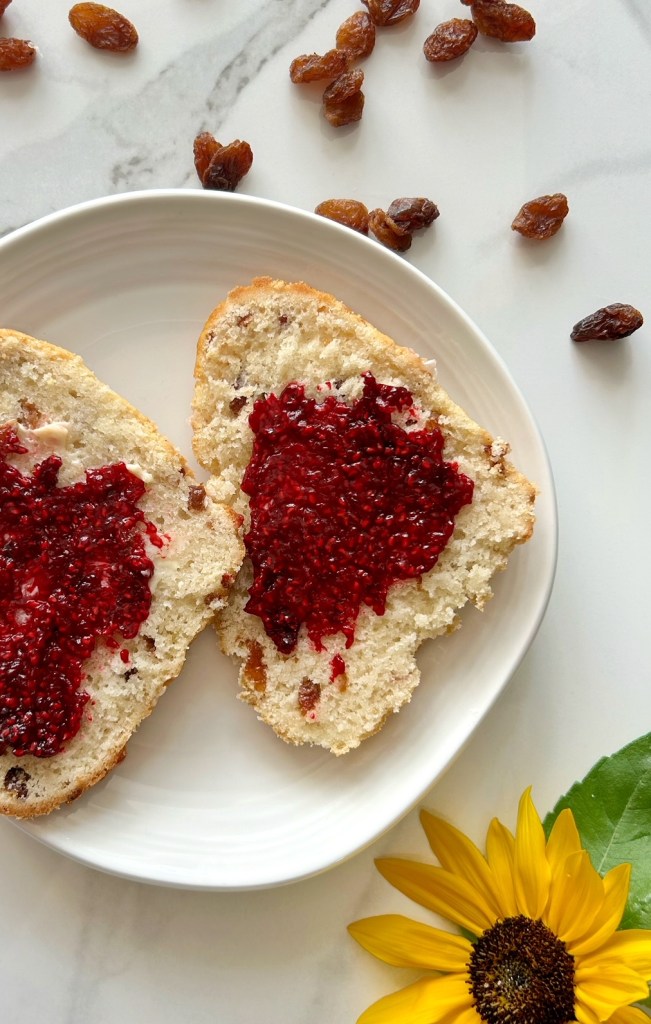
- 1 c. chopped raisins
- white of 1 egg
- yolk of 1 egg.
These may either be baked in the oven, or cooked on top of the stove: preheat oven to 450F or slowly heat a 10-inch diameter cast iron frying pan over low heat.
Sift the dry ingredients together a couple of times, and put them into a large mixing bowl.
Chop the raisins and set aside.
Work the butter and lard into the dry ingredients, using the fingers, until an even, mealy texture is achieved.
Pour in the milk, and stir lightly with a fork until all of the mixture is moistened.
Beat the egg white with a rotary beater, until it forms soft peaks.
Add the chopped raisins and the beaten egg white to the dough mixture, and stir together gently, to blend thoroughly.
Take one-third of the dough, and put it on a floured surface; flour the dough lightly, and knead it gently, working in some additional flour if required, until the surface of the dough is no longer sticky.
Shape the dough into a round, and roll it with a floured rolling pin (or flatten it with your hands) until it forms a round cake, about 7 inches in diameter, and ⅝-inch thick.
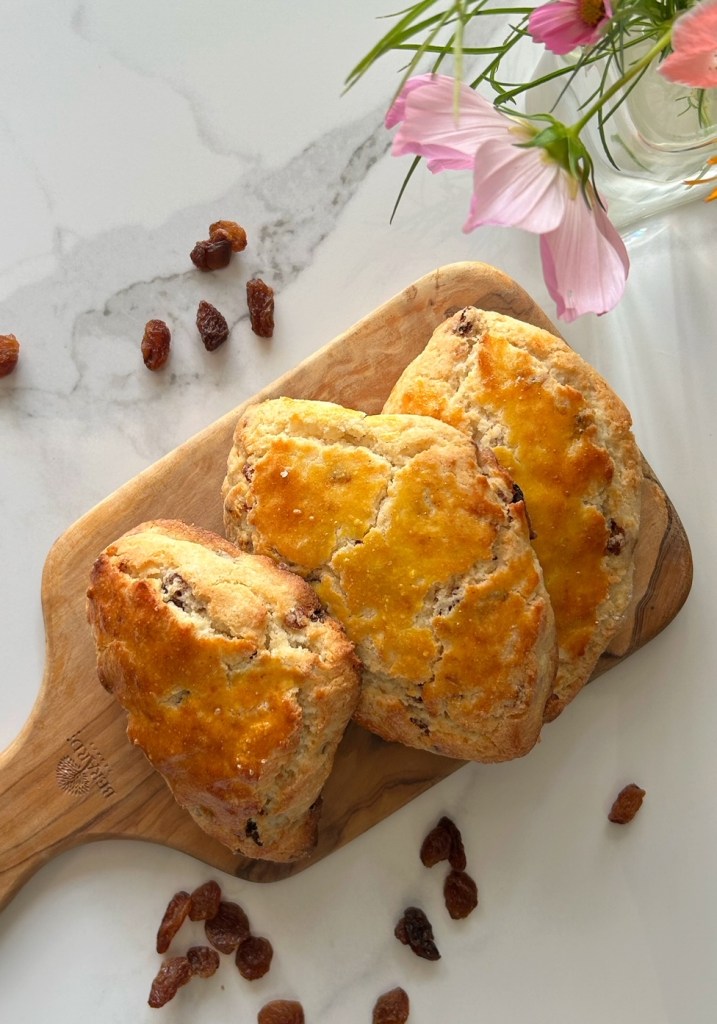
Cut into four quarters with a knife.
Repeat with the other two portions of dough, until you have 12 scones.
Lightly dust either 2 baking sheets or the 10-inch diameter frying pan with flour.
Place the scones on the floured surface, leaving room for expansion between them. (You can cook 4 at a time in the frying pan.)
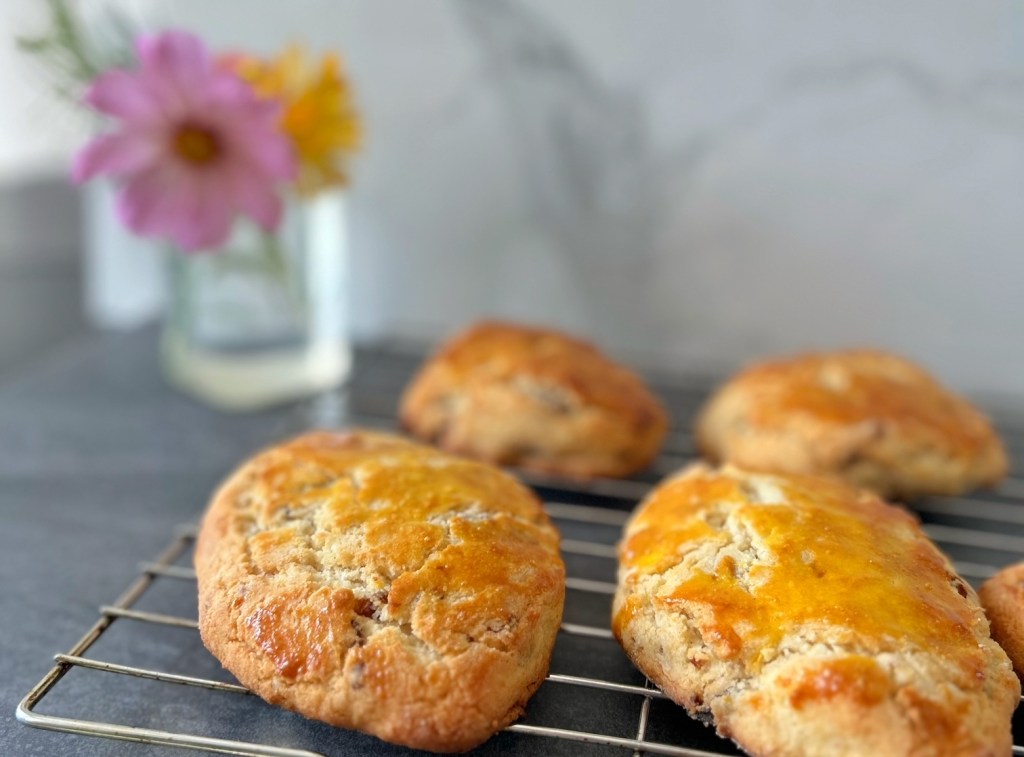
Beat the egg yolk lightly with a fork, and spread a thin coating over the top of each scone.
Bake at 450F for about 12 to 15 minutes, or until lightly golden. (Reduce heat, if they begin to brown too quickly.)
If cooking them on the top of the stove, place 4 “quarters” at a time in the fryer, and cook very slowly, over low heat, for about 10 minutes on each side; be careful that they do not brown too quickly, or they will not be cooked through evenly.
Yield: 12 scones.
The oven-baked scones will have a lighter texture and rise higher.
These are rich and delicious, warm or cold, and are especially good served with preserves, for Afternoon Tea.
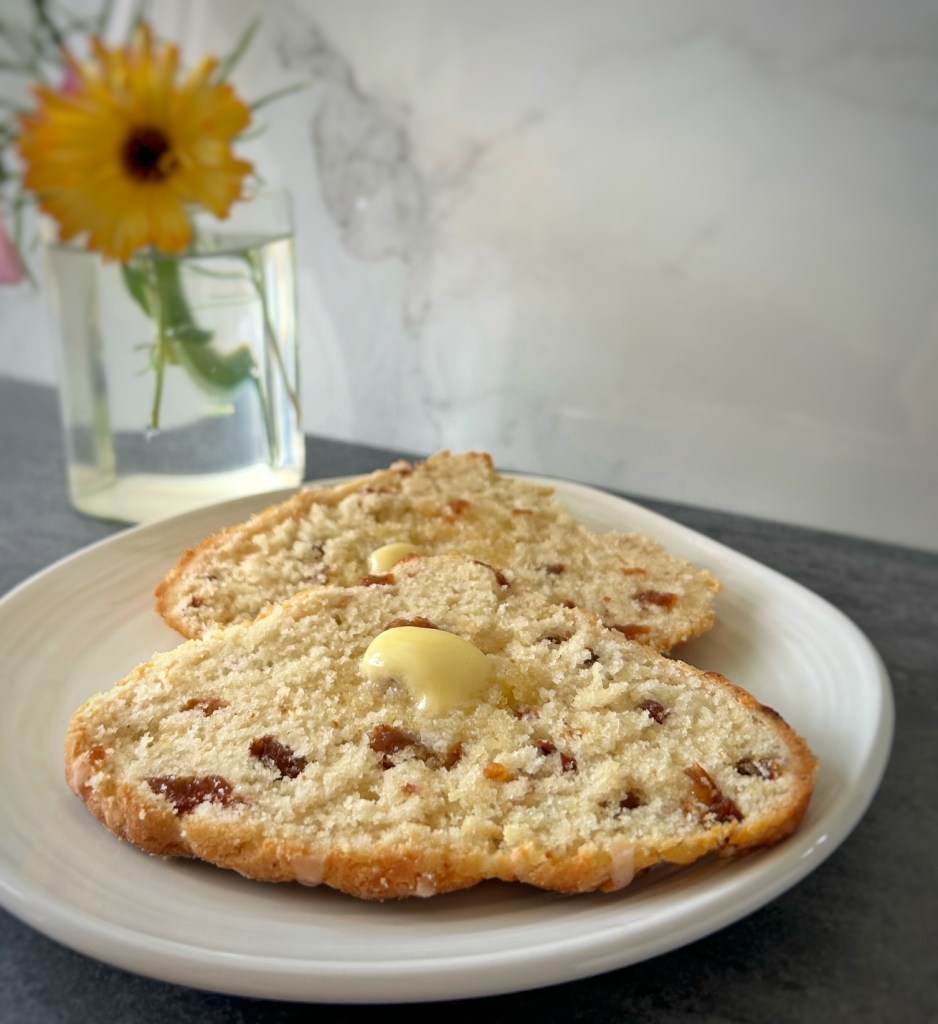

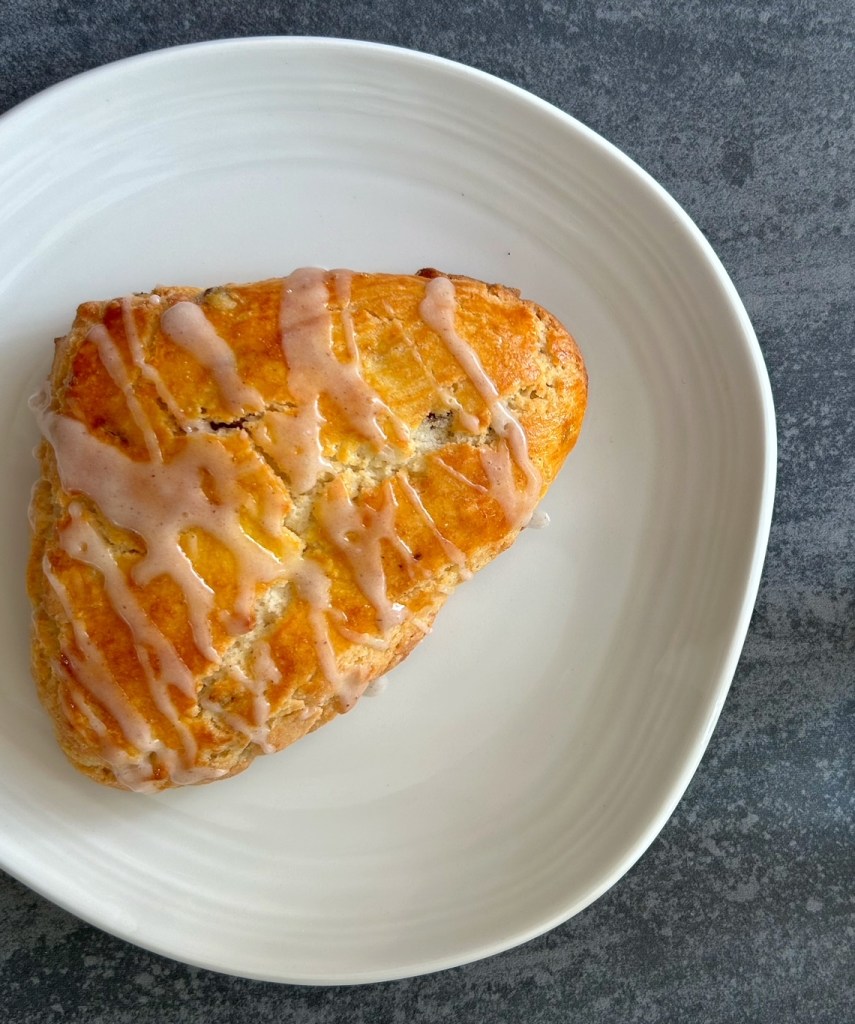
A note from Patricia: I always gravitate towards a cheese scone or a plain scone, but I thought I would give these a try next as I had raisins on hand, and lard was on sale this week (I’ve never used lard before so this was a first!). And really, all scones are amazing with their crusty outsides and fluffy insides. I substituted the all-purpose flour in the recipe above for 1:1 gluten-free flour, and the substitution worked out well, and I baked these in the oven (vs. on the stovetop). These Raisin Scones were lovely – lightly sweet and crusty with soft middles. They were fantastic straight from the oven slathered with butter and homemade raspberry jam, and were fabulous reheated for breakfast the next day. I even made a quick glaze of powdered sugar, cinnamon and milk to drizzle over a few of them (because why not?). I loved how easy these were to make, and will definitely make these again – they’re a perfect weekend treat.
THE TEA TRAY. – On every tea-tray there should be a hot-water kettle, a teapot containing the necessary amount of tea, cups and saucers, teaspoons, sliced lemon, cream, sugar, a cosey, and the wafers or cakes to be served with the tea.
~Government House Cook Book. Ottawa, Canada: L.E. Plummer, 1915.

2 responses to “Tilbury Raisin Scones – 1908”
Thank you so much for the wonderful recipes. I made these scones this morning and they are exactly as you described. Delicious! I made them in the oven and have one question, is there anyway to get the bottoms to crisp up like the tops and edges? My bottoms fell apart and crumbled when I sliced them. Once again thank you for the great recipe.
LikeLike
Hi Sharon! I’m so glad that you’re following along and have tried out the scones! Yay! With regards to your question about achieving crispier bottoms, I did a little research on FoodCrumbles.com (as I’m no expert) and they offered the following possible solutions for someone that had the same issue:
a.) make sure to mix the ingredients together evenly. It’s tricky because with scones we’re told to NOT overmix, and NOT knead too much, but it’s possible that if there are still large clumps of flour or portions with a lot of liquid, it won’t hold together in those areas and will be more crumbly.
b.) perhaps if you make them again, try moving the oven rack down. I wouldn’t adjust the cooking temperature, because you said you were happy with the tops and sides, and that might cause them to dry out. But maybe moving the oven rack down lower would help?
c.) I wonder if you greased the cookie sheet (instead of flouring it), if that would help to transfer the heat better, and crisp up the bottoms?
Hope this helps!
LikeLike